




How to repair a broken cable on a wired keyboard?
 Oct 14, 2025|
 A broken cable on a wired keyboard can be a frustrating issue, but the good news is that in many cases, it's a problem you can fix on your own. As a wired keyboard supplier, I've seen a wide range of keyboard issues over the years, and cable damage is one of the most common. In this blog post, I'll guide you through the process of repairing a broken cable on a wired keyboard, step by step.
Step 1: Assess the Damage
The first thing you need to do is to carefully examine the cable to determine the extent of the damage. Look for visible signs of wear and tear, such as frayed wires, cuts, or breaks. Sometimes, the damage might be hidden under the outer insulation, so gently bend and flex the cable to see if there are any points where the keyboard stops working or behaves erratically. This can help you pinpoint the location of the break.
Step 2: Gather the Necessary Tools
Once you've identified the damaged area, it's time to gather the tools you'll need for the repair. Here's a list of the basic tools:
- Wire cutters: To cut the damaged part of the cable and trim the wires.
- Wire strippers: To remove the insulation from the ends of the wires.
- Soldering iron and solder: To join the wires together.
- Heat shrink tubing: To insulate the soldered connections.
- Electrical tape: As an alternative to heat shrink tubing if you don't have it.
Step 3: Prepare the Cable
Before you start soldering, you need to prepare the cable. Use the wire cutters to remove the damaged section of the cable. Make sure to cut the cable cleanly and leave enough length on each side to work with. Then, use the wire strippers to remove about half an inch of insulation from the ends of the wires. You should now see the individual colored wires inside the cable.
Step 4: Identify the Wires
Most wired keyboard cables have several colored wires, each with a specific function. The most common colors are red (power), black (ground), green (data), and white (data). However, the color coding can vary depending on the manufacturer. If you're not sure which wire is which, you can refer to the keyboard's user manual or look for online resources that provide wiring diagrams for your specific keyboard model.
Step 5: Solder the Wires
Once you've identified the wires, it's time to solder them together. Match the corresponding colored wires on each side of the cable and twist them together. Then, heat the soldering iron and apply a small amount of solder to the twisted wires. Make sure the solder flows evenly and covers the entire connection. Repeat this process for each pair of wires.
Step 6: Insulate the Connections
After soldering the wires, you need to insulate the connections to prevent short circuits. You can use heat shrink tubing for this purpose. Cut a piece of heat shrink tubing that is slightly longer than the soldered connection and slide it over one of the wires before you solder. After soldering, position the tubing over the connection and use a heat gun or a lighter to shrink the tubing. If you don't have heat shrink tubing, you can use electrical tape to wrap the connections tightly.
Step 7: Test the Keyboard
Once you've insulated the connections, it's time to test the keyboard. Plug the keyboard into your computer and see if it works. If the keyboard doesn't work, double-check your soldering connections to make sure they are secure and there are no short circuits. You may also need to test the keyboard on another computer to rule out any software or compatibility issues.
Step 8: Protect the Cable
To prevent future cable damage, it's a good idea to protect the repaired cable. You can use cable sleeves or braided cable wraps to cover the cable and provide extra protection. This will help prevent the cable from getting tangled, pinched, or damaged by sharp objects.
Our Wired Keyboard Products
As a wired keyboard supplier, we offer a wide range of high-quality wired keyboards to meet the needs of different users. Our Soft Touch Wired Keyboard features a comfortable and responsive typing experience, with soft-touch keys that reduce finger fatigue. The Multimedia Wired Keyboard comes with a variety of multimedia keys that allow you to control your music, videos, and other media applications with ease. And our Soft Touch Keyboard Wired combines the comfort of soft-touch keys with the reliability of a wired connection.
Conclusion
Repairing a broken cable on a wired keyboard is a relatively simple process that can save you the cost of buying a new keyboard. By following the steps outlined in this blog post, you can easily fix the problem and get your keyboard back in working condition. If you have any questions or need further assistance, please don't hesitate to contact us. We're always happy to help.
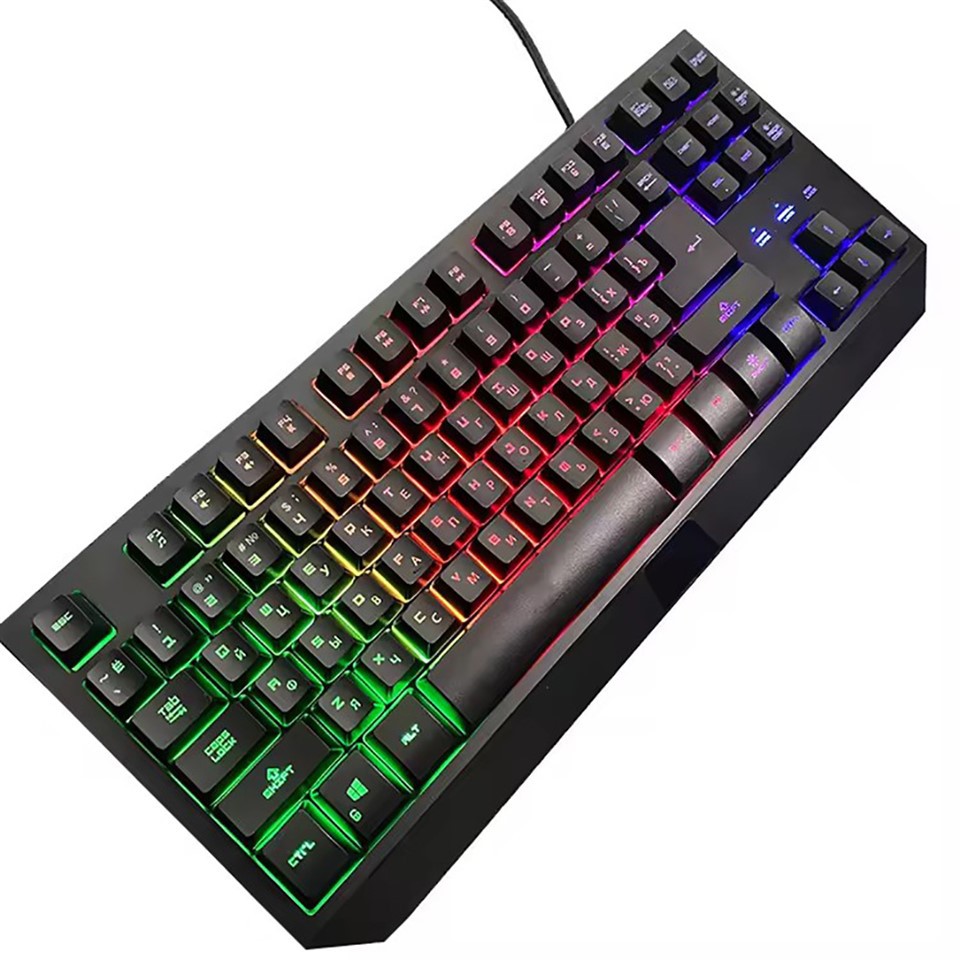

If you're interested in purchasing our wired keyboards or have any inquiries about our products, we welcome you to reach out for a procurement discussion. We're committed to providing the best products and services to our customers.
References
- General knowledge of electronics repair and keyboard technology.
- Personal experience as a wired keyboard supplier.